We can design, build and ship custom banquet seating systems anywhere in the world. To talk with someone from the JEM team about your project, Click Here and submit an inquiry form!
We designed, built, and installed this kitchen bench seating with underneath storage. Our customers have a big family that spends a lot of time together and wanted an area where everyone can relax and eat together.


Before You Begin
Select each 2×4, being mindful of warps, bows, crowns, and any other damage. Starting with nice, straight lumber will help the project run smoothly!
Framing The Bench

Begin by making a cut list – an organized list of all the individual pieces needed to assemble the frame.
Cut all of the pieces, then find a flat surface and assemble them using either a framing nailer or a drill and driver.
When screwing the frame together, I suggest using 2 1/2” #9 screws and a countersink bit for pre-drill.
Every 90-degree corner gets a square put on it, before and after screwing it together.

Build one piece at a time, assemble the pieces together, then install.
Check each piece for square and, once assembled, check the whole frame for square by measuring on a diagonal from corner to corner. The measurements should be the same but many times the existing walls, ceilings, and floors are not plumb, level or square. A good installer can overcome these obstacles and end up with a great-looking space!
Building Face Frames
3/4″ Poplar wood is glued and pocket-screwed together to build the face frames. They are built to the highest and widest dimensions needed to sit tight against the floor at the bottom, be flush with the plywood at the top, and meet the wall and other face-frame tight on the sides. The face-frames are then attached to the bench structure with clamps and temporary screws.
When the surfaces being installed to are not plumb, level and square, the work can sometimes be tricky, but it gets easier with practice!
For example; let’s say the floor is out of level from end to end. Once your level lines are on the wall, measure from the floor to the line at multiple points across the area. I recommend using a laser level. The face-frame will be built to the measurement of the lowest point in the floor to the top of the plywood.

Temporarily attach the face-frames to the bench in order to draw the scribe lines. Remember, the face-frames need to be plumb, level and square for the scribe so when you install them they will fit tight to the floor and flush with the plywood on top. One side of the face-frame might be touching the floor and flush with the plywood on top, while the other side might be proud of the plywood and floating off the floor.
Once the face-frames are where you want them, and temporarily secured to the bench, you are ready to draw the scribe lines. Set your scribe to the highest point that the face-frames stick above the plywood, and scribe all your face-frames to the floor in one shot. Scribe the ends of the face-frames tightly where they meet the wall.

Be sure to build all the face-frames, attach all the face-frames, and scribe all the face-frames at the same time. This process ensures a uniform fit and makes your job easier. This is also the time to mark out index lines where the face-frames will join at the outside corners for your slots and biscuits.
Once everything is marked, the face-frames are ready to go back to the table saw/ assembly table. I recommend you cut close to the scribe line with the table saw or circular saw beveled at about 15 degrees and then finish with a belt sander in order to achieve a nice, clean scribe that will fit tight to the floor and wall.

After scribing and test fitting, fill any imperfections in the seams, and sand up to 120 grit or higher for a smooth and luxurious finish.
With the pocket screw joinery, and the seams clamped and glued, there is usually no need for wood filler, so that step can be skipped if not necessary.
Run a trim router set up with a 1/4” round-over bit, or any other appropriate edge profiling bit, over the edges that will be exposed, including the inside edge of the panel detail. The inside corners will need to be hit with a piece of hand sandpaper to make the edge profile consistent through the corner.
Next, cut slots for the biscuits that will help to assemble the sides of the face-frames together.
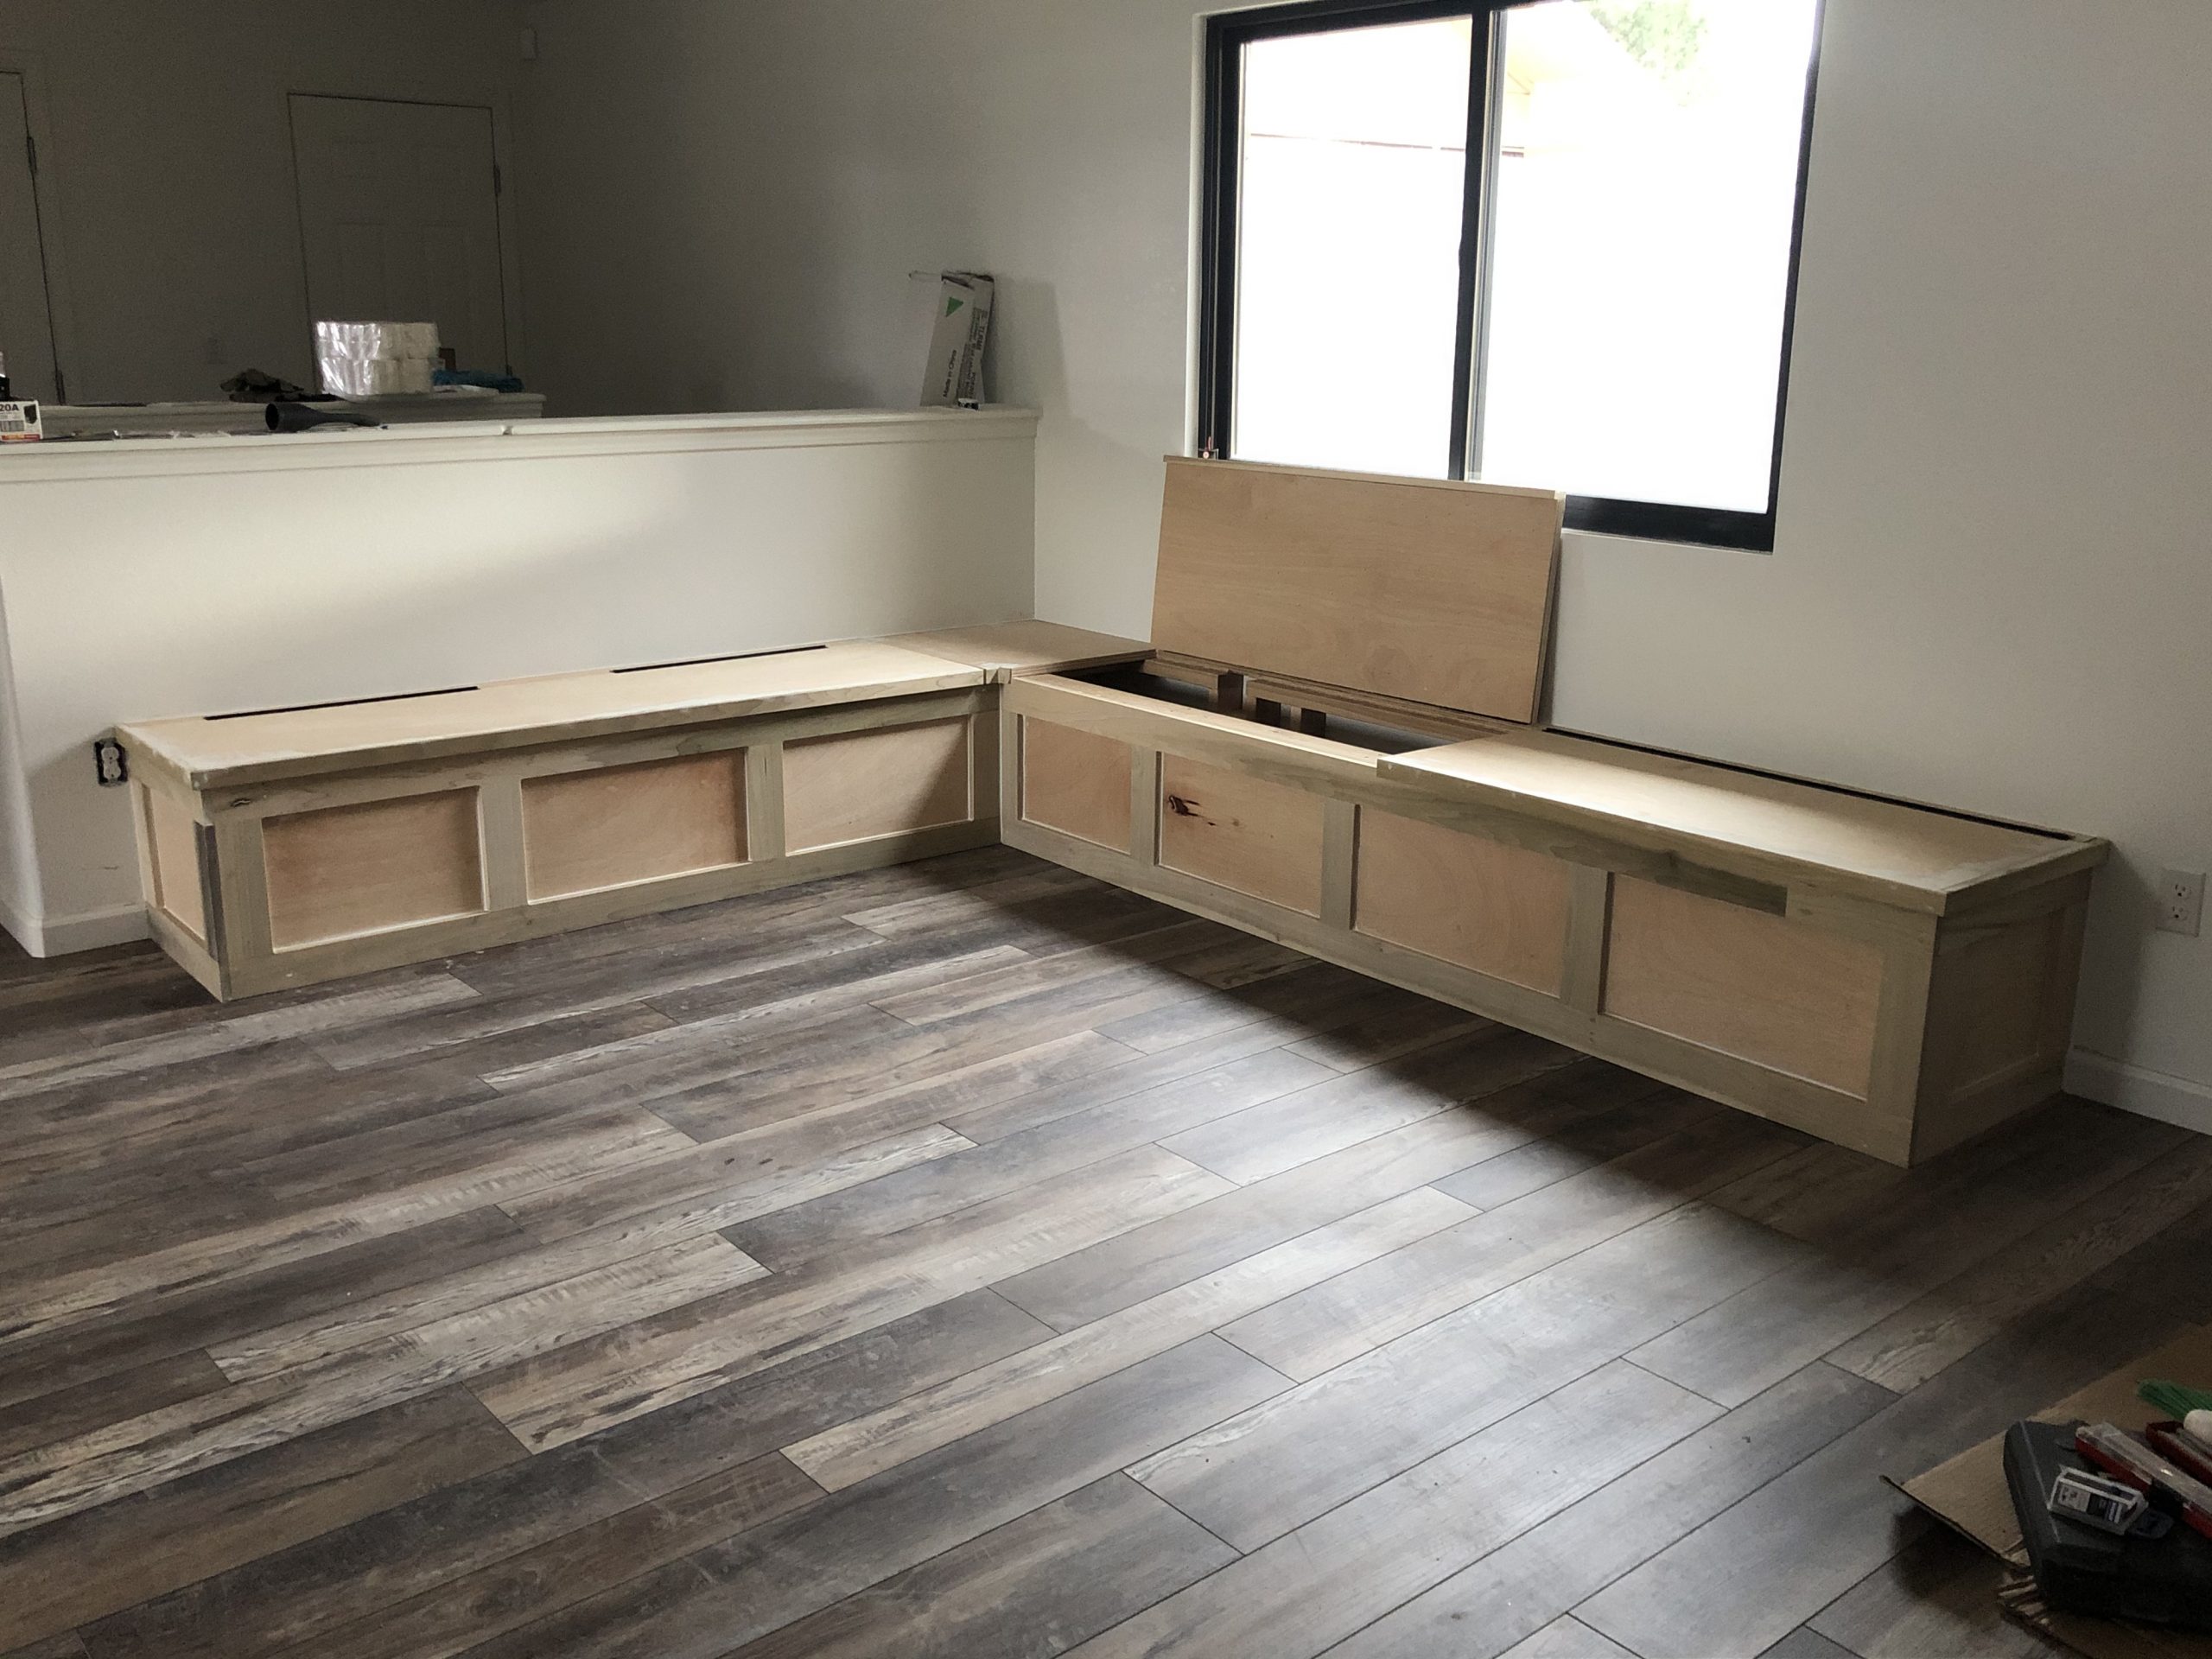
When the face-frames have been built, scribed, and milled, it’s time to install them. I recommend using nickel-sized dabs of construction adhesive on the back of the face-frame clamps to provide pressure while the glue dries, and 18 gauge pins for good measure!
Click Here to Contact JEM Carpentry about your next project!