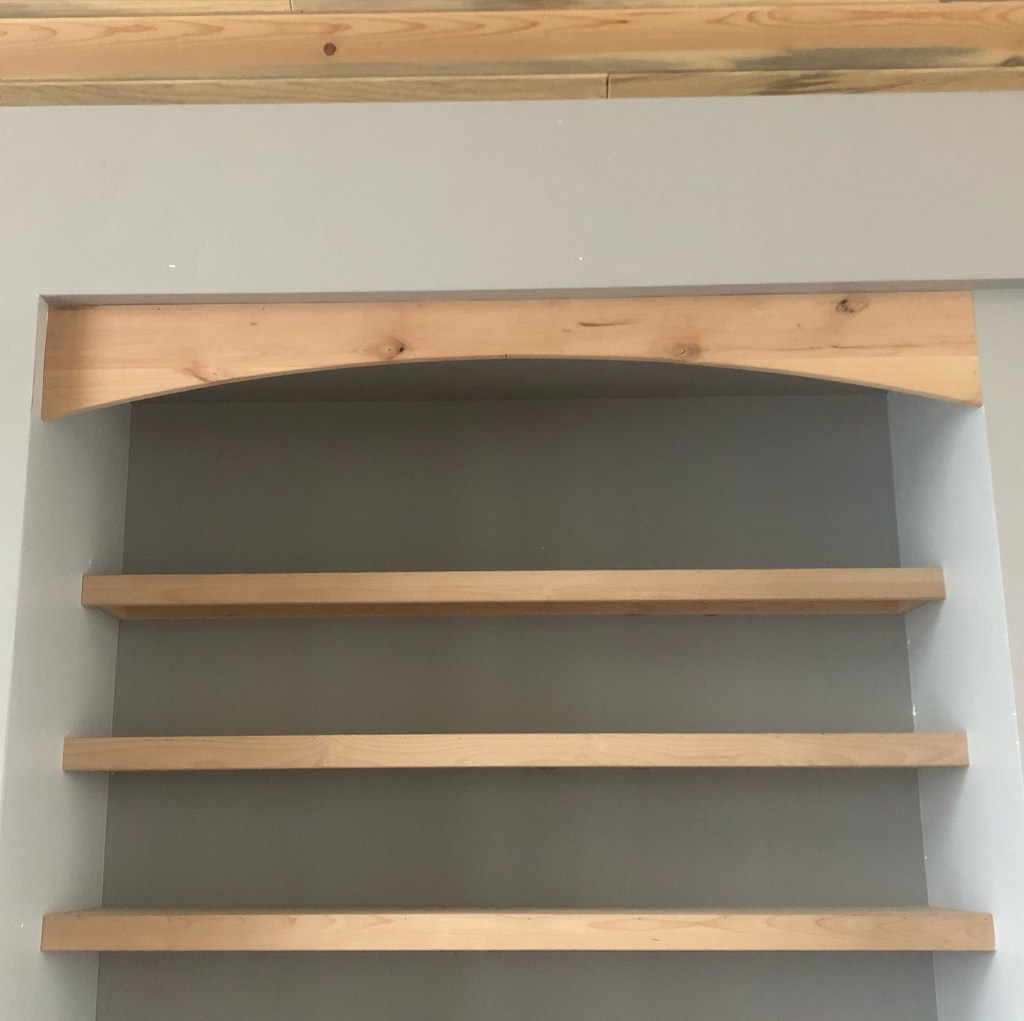
Floating shelves and box mantles are popular items that are commonly requested by customers. Many newer homes have existing drywall alcoves with no shelving and a basic mantle, or no mantel at all above the fireplace. Box mantels and floating shelves can dress up a space and add real estate value. They can be finished with either paint or stain.
Material Selection and Tools
A great product always starts with great material! It’s more difficult to make something nice out of material that is warped, bowed, or defected in some way. With the exception of reclaimed projects, which we will approach differently, we hand-pick the pieces of lumber we will be using to build each project.
For this project, the customer had requested Pine. We were able to find very straight, nice 8′ lengths of #2 Pine at our local lumber store, and this was a great start to the box mantel and floating shelf project!

Tools, Processes & Systems
Once the material is back at the shop, it’s time to start building! We previously sketched out the box mantel and floating shelves, creating a cut list with labeled part numbers and exact dimensions. This drawing is an important part of the building process!
For this build, the main tools being used are the table saw, miter saw, biscuit jointer, pocket hole jig and finally an orbital sander. Once we begin to build the box mantel and floating shelves, we have systems we follow to ensure accuracy, consistency, and efficiency. Carpenters develop their own systems over time, though there are some universal best practices when building in the shop.

For starters, we always rip down all the stock of the same size, at the same time on the table saw. The same goes for cutting pieces to length on the miter saw. Use a stop block and cut all your pieces of the same length at the same time. Once the material is cut to size, lay out all of the biscuit slots and pocket screw holes using a tape measure, pencil and square. Again, mark all the face biscuits, then the end biscuits, then the pocket screws…
It’s very easy to get mixed up at this phase since there are a lot of marks that end up on the pieces of material, so come up with a system that works for you. Using different colored pencils is one approach. You can also use B’s for biscuits, S’s for screws, etc.
When everything is laid out and parts are organized accordingly, assemble the shelves and mantel individually. In other words, fully assemble one shelf and then move to the next. By the time the last one is assembled, the first one is usually ready to take the clamps off of and prep/sand. You can follow similar processes during the finishing and install phases, always trying to group tasks together and order things in the way that allows for the most efficiency.

More Floating Shelves and Box Mantle Projects:
Floating Shelves and Walnut Mantle with Custom-Built Heat Shield – Denver, Colorado


Floating Shelves And Radius Header – Wellington, Colorado

Beetle Kill Pine Mantle – Berthoud, Colorado


Floating Shelves – Windsor, Colorado

Floating Shelves – Estes Park, Colorado
